Mastering NotebookLM: 2- How to Manage Large Datasets and File Types in NotebookLM
Turn messy files into structured AI insights using NotebookLM. Learn file management, source limits, and grounding checks.
MASTERING NOTEBOOKLM
Emma Al
3/4/20266 min read

Imagine your research project as a high-performance engine; the documents you upload are the fuel. If the fuel is stale or disorganized, the engine stalls. In our first article, we broke down how NotebookLM acts as your personal AI tutor—helping students master study materials, allowing researchers to reclaim their time, and giving companies a streamlined way to train new employees. We also tackled the “Big Two”: how grounding ensures accuracy and why your data stays private and secure .
Missed the beginning of the journey? Read Part 1: How to Set Up Your First Notebook and Upload Sources
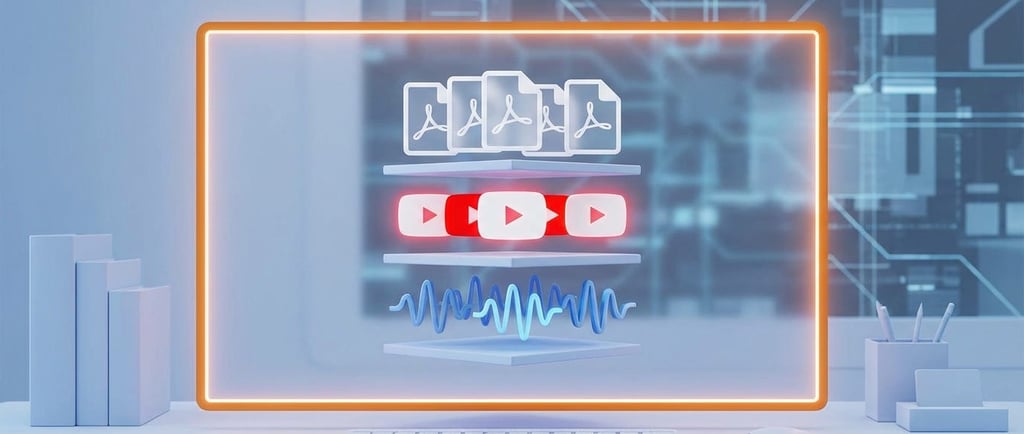
How to Manage Large Datasets and File Types in NotebookLM
NotebookLM is incredibly powerful, but it has specific “hard limits” and synchronization rules that can trip up even advanced researchers. Mastering these is the difference between a project that scales and one that stalls.
1. Practical Tips: How to Upload Your Sources
Before we get into the technical limits, here is exactly how you bring your data into the system. On your computer, open NotebookLM and select the Add source button to see your options:
From Google Drive: Select the Google Drive icon. You can search for specific files or browse your folders. Note that while NotebookLM can read content from multiple tabs in a Google Doc, it cannot import content from “sub-tabs”.
Uploading a PDF: Choose the PDF option to upload files directly from your computer. If a PDF is copy-protected, the system will not be able to import it.
Adding a Website Link: Select Website and paste the URL. You can add multiple links at once by separating them with a space or a new line. The system only scrapes the text content of the HTML page, leaving behind images and embedded videos. However PDFs and Google Slides do support images and charts, making them the superior choice for data-heavy research.
YouTube Videos: Select the YouTube icon and paste the link to a public video. The video must have captions (either auto-generated or user-uploaded) for the AI to retrieve the transcript.
2. Know Your Capacity: The Three Magic Numbers
To maintain peak performance and research integrity, NotebookLM operates within three main boundaries:
50 Sources per Notebook: You are capped at 50 individual items in your source panel.
500,000 Words per Source: Each individual document can be massive, roughly the size of the entire Lord of the Rings trilogy.
200 Megabytes per File: This is the size limit for any local upload, such as a PDF or Slide deck.
3. The “Static Snapshot” Trap (And How to Fix It)
This is the most common failure point for researchers. When you import a file, NotebookLM takes a static snapshot, it creates a copy of that document at that exact moment.
It does NOT update automatically: If you edit the original Google Doc, the version inside NotebookLM stays the same.
How to Sync: For Google Drive files, you must manually go to the sources panel, select the document, and click the “Click to sync with Google Drive” button.
Requirements: This button only appears if the original file has been updated and you have write access to it. For local PDFs, you must delete the old version and re-upload the new one.
4. The Footnote & Comment limitation
As an AI specialist, I have to point out a technical “blind spot” that often catches researchers off guard: NotebookLM does not import footnotes or comments from your Google Docs or PDFs.
The Risk: If your most critical evidence, citations, or data points are tucked away in the footnotes, the AI will simply never “see” them. This can lead to incomplete summaries and missed connections during your research.
The Specialist’s Fix: Before you upload, perform a quick “data audit.” Manually move any vital information from your footnotes or comments directly into the main body of the text.
By taking this extra step, you ensure that every piece of evidence is visible, searchable, and ready for the AI to analyze and cite with 100% accuracy.
Your Command Center: Navigating the Interface
Once your sources are in, the interface transforms into a dynamic workspace. To a beginner, it might look like a simple chat box, but as a specialist, I see it as a three-part engine where data enters on the left and magic exits on the right.
1. The Chat Section: Your First “Hello” from the AI
The chat section contains a generated summary and it is the first thing that populates the chat panel, acting as an immediate confirmation that your import worked. The Chat Panel is grounded, meaning it only sees the data you have currently checked in the left panel.
The Auto-Summary: You will see a generated summary that combines all your uploaded material into a single, cohesive overview.
The Specialist Tip: Don’t skip this! This initial text is your “Grounding Check.” If the summary misses a key point you know is in your files, it’s an immediate sign that your source might be too dense or formatted in a way the AI is struggling to read.
2. The “Quick Start” Prompts (The Freebies)
Below that initial summary, you’ll notice three to four suggested questions or “ready-to-use” prompts like “Create a study guide” or “Summarize key takeaways.”.
No Usage Cost: As a pro researcher, here is a secret: these initial “artifact” suggestions are often generated once when you first add sources and do not count against your daily chat limits.
The Logic: They are designed to show you what the “Studio” (more on that in a second) can do with your specific data without you having to write a single prompt yourself.
3. The Left Panel: Where Sources Live
This is your library. Every PDF, link, and transcript you’ve added sits here.
Granular Focus: You don’t always have to chat with everything. You can use the checkboxes next to each source to “blind” the AI to certain files.
Unchecking a source makes it strictly forbidden from being accessed by the AI for that specific query, ensuring laser-focused accuracy.
Example: If you have 50 files but only want to compare two specific reports, uncheck the other 48. This forces the AI to have “laser focus” on exactly what matters right now.
4. The Right Panel (The Studio): Where the Magic Happens
If the left side is your “Input,” the right side—the Studio Panel—is your “Output.”. This is where the synthesis grunt work is replaced by one-click automation.
The Transformation Tiles: You’ll find dedicated tiles for Audio Overviews (podcasts), Video Overviews (narrated slides), and Mind Maps.
The Workbench: This panel stores your Notes. You can save brilliant AI responses here or write your own insights. The best part? You can select multiple notes and use “Quick Actions” to instantly turn them into a polished outline or a briefing document.
The auto-generated reports and flashcards are "risk-free" because they don't count against your usage limits, making them perfect for testing the system's synthesis power on new data.
Advanced Operational Questions
Q1: What if I have 100 research papers but hit the 50-source limit?
The Specialist’s Fix: Don’t let the 50-source cap stall your project. Since each individual source can handle up to 500,000 words, the most efficient strategy is “Pre-processing”. Use a PDF merger to combine related papers into a single “Master Source” before uploading. This allows you to synthesize hundreds of documents while technically staying well under the source limit.
Q2: What if my document is longer than the 500,000-word limit?
The Specialist’s Fix: Even though 500,000 words is roughly the length of three novels, massive archives can exceed this. In this case, use a file-splitting tool to divide your document into “Part 1” and “Part 2”. This ensures the AI can process every word without hitting the memory ceiling.
Q3: What if my file size exceeds the 200 MB limit?
The Specialist’s Fix: High-resolution PDFs or image-heavy slide decks can easily bloat past 200 MB. Before uploading, use an online compressor (like TinyWow) to reduce the file size. Since NotebookLM primarily focuses on analyzing prose, a slight reduction in image quality won’t affect the AI’s ability to research your text.
Q4: Why can’t I import a YouTube video I just uploaded?
The Specialist’s Fix: NotebookLM has a 72-hour delay threshold for new YouTube uploads. If the video is brand new, the transcript might not be fully indexed for the AI yet. Additionally, the video must be public and contain either auto-generated or user-uploaded captions to work.
Q5: What happens to my sources if a YouTube video is deleted or a website goes down?
The Specialist’s Fix: This is a vital “logistics” point. If a YouTube creator makes a video private or deletes it, that source will be automatically removed from your notebook after approximately 30 days. For critical research, it is always safer to use stable, vetted PDFs or local files rather than ephemeral web links.
Q6: Can I upload a long recording of a 2-hour meeting?
The Specialist’s Fix: While you can upload MP3 or WAV files, free users are currently limited to transcribing the first 30 minutes of any audio file. To capture a full 2-hour board meeting, you should split the audio into 30-minute segments before importing them.
What’s Coming Next?
In our next article, we shift from management to automation: How to Use Deep Research to Automate Information Gathering. I’ll show you how to let the AI act as an autonomous agent to find and summarize information from across the web for you.
Follow me so you don’t miss the next step in your AI research journey!
Question for you: Which source type are you most excited to use: YouTube transcripts, audio recordings, or classic PDFs? Let me know in the comments!
Enjoyed This?
If you'd like to see practical examples and screenshots demonstrating how these tools are used in real-world scenarios, you can read the illustrated version of this article on my Substack.
https://aiportalen.substack.com/p/series-title-mastering-notebooklm-676
AI Portalen
Follow us on social media
© 2025 AI Portalen. All rights reserved. Stockholm, Sweden.
Enter your email, and we’ll send free resources directly to your email..
By subscribing, you agree to receive the AI Portalen newsletter.
We respect your privacy. You can unsubscribe anytime.